Here Are Some Easy Tips for Cleaning Ceiling Fans! Leave a comment
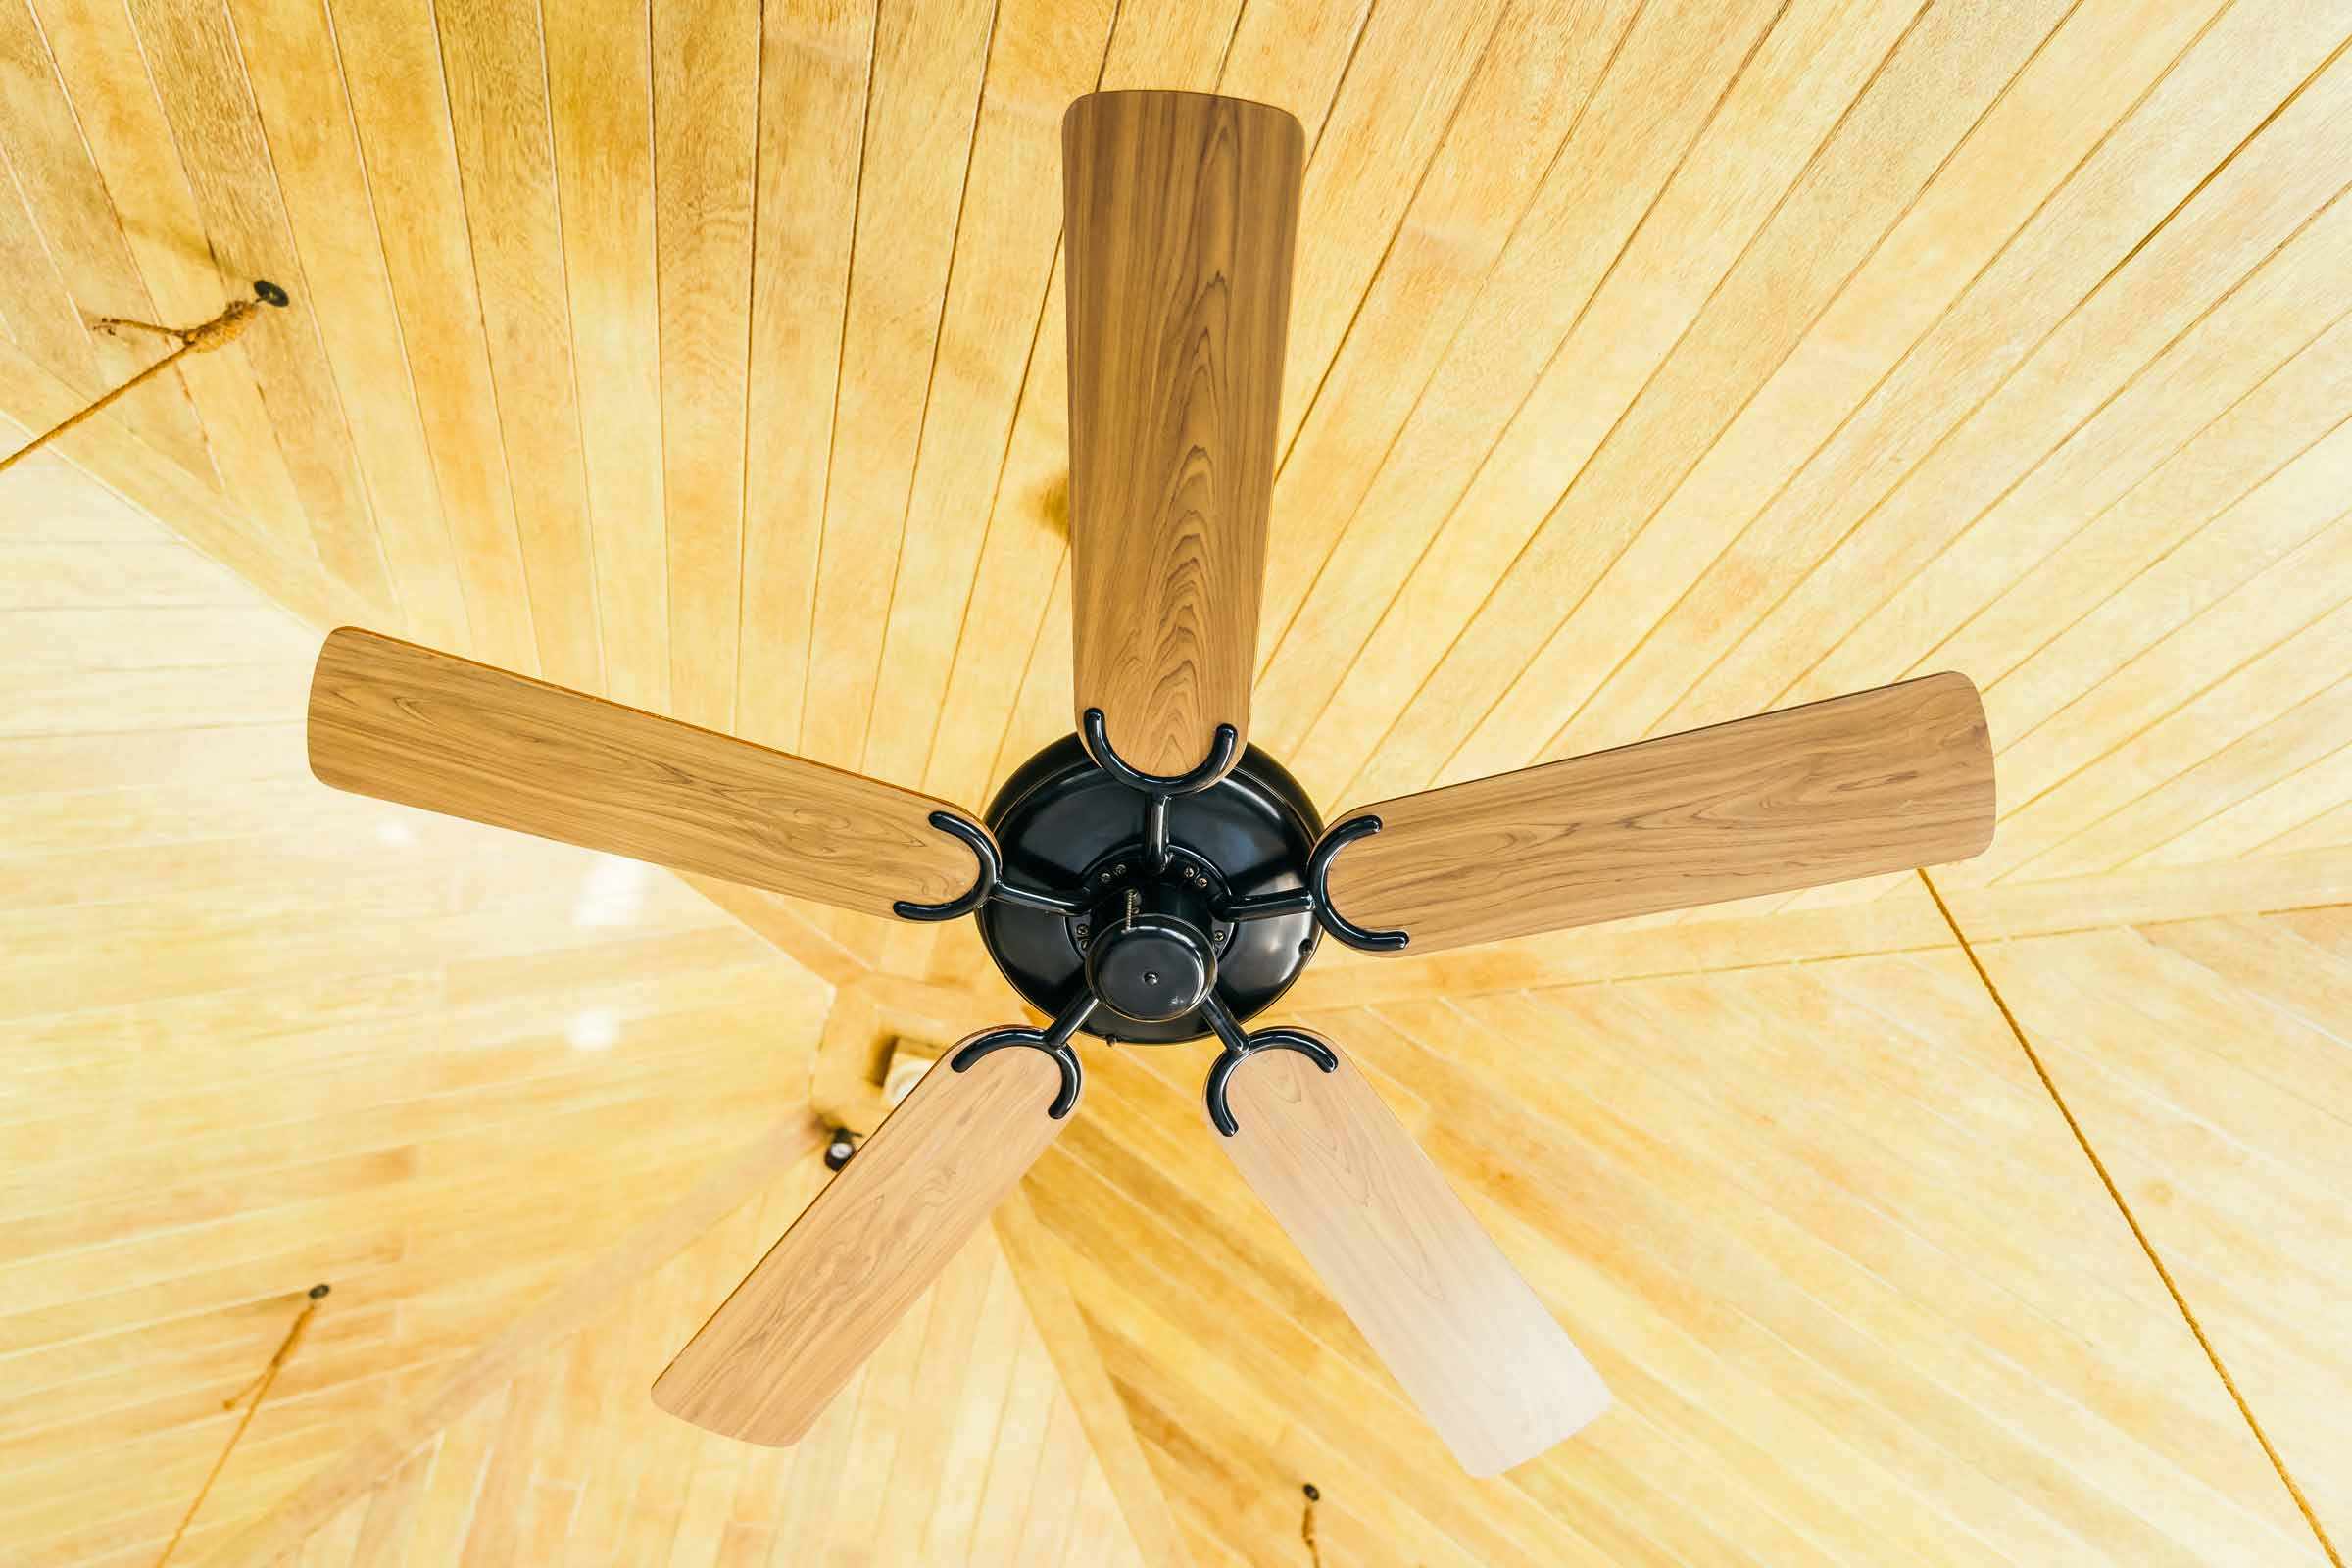
Ceiling fans are an essential part of any home, providing much-needed comfort and circulation during hot summer days. They provide much-needed comfort and airflow, helping us combat the sweltering temperatures. But, are you tired of the dust and dirt on your ceiling fan affecting its performance and causing allergies?
As with any other appliance, ceiling fans also tend to accumulate dust, dirt, and grime, making them less efficient and potentially spreading allergens throughout the room, over time. Regularly cleaning your ceiling fans is crucial to ensure their optimal performance and maintain a clean and healthy living environment.
- Gather the necessary tools:
Before you begin cleaning your ceiling fans, it’s essential to gather the right tools. You’ll need a sturdy ladder, a microfiber cloth or old pillowcase, a vacuum cleaner with a brush attachment, a mild detergent or cleaning solution, a bucket of warm water, and some cleaning gloves. Having these tools ready will make the cleaning process much smoother.
- Safety first:
When dealing with ceiling fans, safety should be your top priority. Make sure the fan is turned off and disconnected from the power source before you start cleaning. Use a stable ladder or step stool to reach the fan safely. If the ceiling is too high or inaccessible, consider using an extendable duster or seek professional help.
- Dusting the blades:
The first step in cleaning your ceiling fan is to remove the accumulated dust. A microfiber cloth or an old pillowcase works wonders for this task. Slip the cloth or pillowcase over each blade and gently pull it towards you. This way, the dust will be trapped within the cloth, preventing it from falling onto the floor or furniture. Alternatively, you can use a vacuum cleaner with a brush attachment to suck up the dust from the blades.
- Wiping down the fan:
After dusting the blades, it’s time to give the fan a thorough wipe-down. Fill a bucket with warm water and add a small amount of mild detergent or cleaning solution. Dampen a microfiber cloth in the soapy water and wring out any excess moisture. Gently wipe the motor housing, downrod, and any other non-electrical parts of the fan. Be cautious not to let water drip into the motor or other electrical components.
- Cleaning the light fixtures (if applicable):
If your ceiling fan has built-in light fixtures, they may also require cleaning. Turn off the power to the fan and remove the light bulbs and shades. Use a soft cloth or a mild cleaning solution to wipe away any dust or grime. Allow the fixtures to dry completely before reassembling them.
- Reassemble and test:
Once all the components are clean and dry, reassemble the fan carefully. Make sure all screws and fittings are tightened securely. Before turning the power back on, give the fan a gentle spin to ensure everything is in place and functioning correctly.
- Dealing with stubborn grime:
In some cases, the accumulated dirt and grime on your ceiling fan may be more stubborn and require extra attention. If you’re facing tough-to-remove stains or buildup, mix a small amount of mild detergent with warm water to create a slightly stronger cleaning solution. Dampen a cloth or sponge with the solution and gently scrub the affected areas. Avoid using harsh chemicals or abrasive materials that may damage the fan’s finish.
- Extending your reach:
Cleaning ceiling fans that are mounted particularly high or in hard-to-reach places can be a challenge. To extend your reach, consider using an extendable duster or a long-handled cleaning tool with a microfiber cloth attachment. These tools allow you to safely clean the fan blades without the need for a ladder. Remember to secure the duster or cleaning tool properly to ensure a steady grip while cleaning.
- Preventing future dust buildup:
To minimize dust accumulation on your ceiling fan, consider using a dust-repellent spray or furniture polish. Apply the product to a cloth and gently wipe it over the fan blades and other surfaces prone to collecting dust. These products help create a protective barrier that reduces the adhesion of dust particles. However, avoid spraying the solution directly onto the fan to prevent any contact with electrical components.
- Regular maintenance:
In addition to periodic cleaning, regular maintenance of your ceiling fan can prolong its lifespan and keep it running smoothly. Check the fan’s balance and stability by turning it on to observe any wobbling or unusual noise. If you notice any issues, tighten the screws and fittings or consider contacting a professional for assistance. Lubricate the fan’s moving parts, such as the motor bearings, following the manufacturer’s guidelines. This will help reduce friction and noise.
- Professional servicing:
If you’re unsure about cleaning or maintaining your ceiling fan yourself, or if you encounter complex issues, it’s advisable to seek professional servicing. Let expert technicians inspect, clean, and service your ceiling fans, ensuring they are in optimal working condition.
Regularly cleaning your ceiling fans not only improves their performance but also helps maintain a clean and healthy living environment. Remember to prioritize safety and use the right tools for the task at hand. Always refer to the manufacturer’s instructions and safety guidelines when cleaning or maintaining electrical appliances. Ensure to buy high-quality ceiling fans from a trusted store that offers after-sale services. Kannankandy stands out as the best in providing the best electronic home appliances in Kerala. We have a wide range of reliable and efficient products at our online retail stores in Kerala that suit your needs. Visit us today…
Set your home with all comfort. Stay cool and comfortable all year round with a clean and well-maintained ceiling fan!